When you have a business and meet people, you usually want to have something to give to them so they remember your conversation. In my last post, I 3D Printed coasters for a customer to give out at an upcoming conference. A coaster is nice, but not something that can carried around every day.
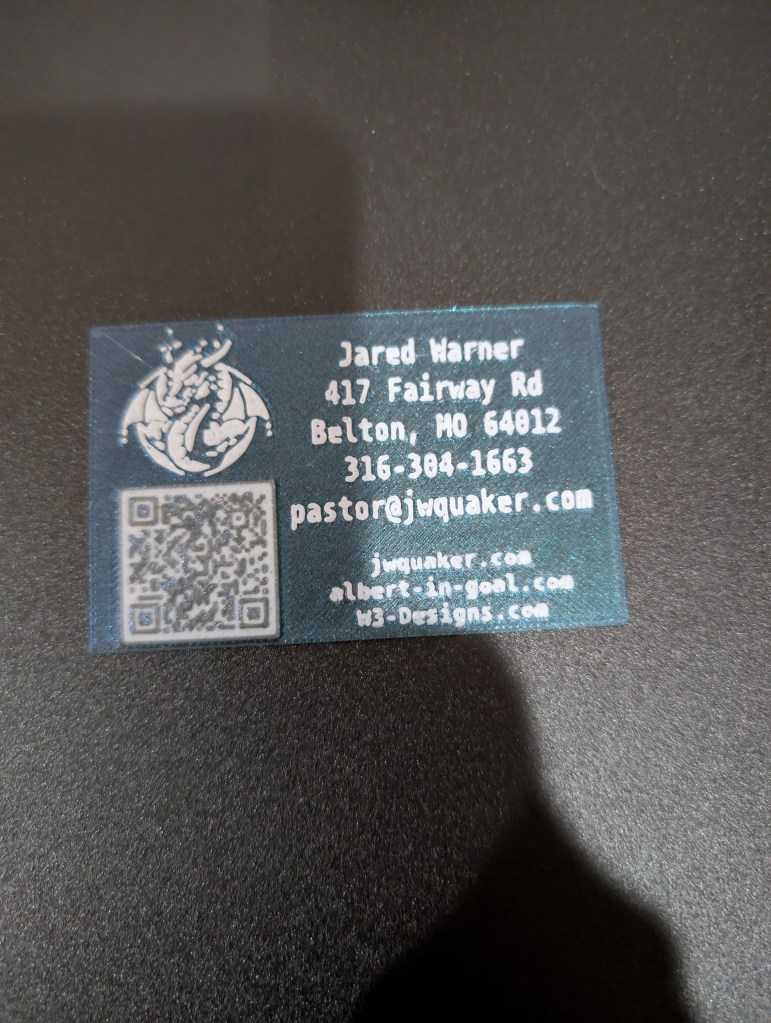
That is where a business card comes in handy. But since I have a 3D printer a normal business card is not enough. So I made a credit card sized 3D Printed business card.
First, I needed to make a webpage that has a link to all three of my websites: jwquaker.com, albert-in-goal.com, and W3-Designs.com so that each is represented. I have had my original website, well blog since 2012, and began it because we had some friends move out of town. These friends, although they were not going to be able to attend service, wanted to stay connected to the church am a minister of. Then my youngest son wanted to play hockey. As a minister, I do not live near most of my extended family, so I began recording my son’s games and posting them on YouTube. Eventually I decided that it might be better if I had a website for the hockey games so that I could catalog them how I wanted instead of just having playlists on YouTube. Then we purchased a 3D printer. Three hats, 3D, and there are 3 people involved…W3-Designs.
I made the page that has links for each of these sites, I then, found a really neat website that helps generate a 3D printable QR code: https://qrcode2stl.printer.tools/. This website can generate a QR Code as a png file or an svg so it is very useful. You can also make QR Code for your email or WIFI Password too.
I downloaded the QR Code and began playing with the slicer. I am fairly new to 3D Printing so I use the slicer that was provided with my printer. I have a Creality CR-10 SE and a Creality Hi Combo, so I am using the free Creality Print version 6.1.2.2458. I am using this version because I use a Linux operating system and that is the newest version available as an app image for Linux. Why do I use Linux? I will not get too deep into that, but as a pastor and a hockey dad my budget can get pretty tight. Linux allows me to revitalize older computers because it does not require the newest hardware. (There is a windows 11 rant…but i will not go there).

I imported the QR Code to my slicer, and added a simple cube model from the slicer. I scaled the cube to match the dimensions of a credit card. Using the embossing feature of the slicer, I added the text. Finally, I imported the dragon from our logo. My son is really into dragons and if you have not watched the live action “How to Train Your Dragon” you need to. He is so into dragons that he had us get a dragon painted on his goalie mask. Since he is the 3rd W in this endeavor the dragon became our go to for the logo.
The card is 1 mm thick which means this is a pretty tedious process. And when you import the QR code into the slicer it is all a single color. So you will need to make a filament change during the printing process. This is easy with the Creality Hi Combo since it has the CFS system which allows for the use of different filaments, and will do the change automatically. If you are using a single filament printer like my CR-10 SE you can still do multiple filaments but you will need to manually change the filaments. With Creality Print V6 they do have the feature where you can put the color changes in and it will pause as needed, if your slicer does not have this you can still put pauses into the GCode. This is more than I want to go into right now, but it is possible I know because I did it before Creality released version 6 in Linux.
You will want to place each of the objects on the top of the card, and then you will want to make sure to make the very top layer of the QR Code black, leaving the rest of it white. So you will have at least 3 filament changes. In my case I wanted the card to remain as close to 1 mm thick as possible so i embedded them into the card a bit, and since my printer can change the filament automatically it does not bother me too much.
The QR Code works and it printed nicely. But there are some tweaks i wanted to make. I wanted a hole in one corner so I could attach it to a key chain, and my son said the points on the corners could cause bodily harm. I decided I would go into my cad program and make the card over. Since I use Linux I have been using FreeCad as design software. This does have limits but for me it works out pretty good. You can also use web based cad programs like Tinkercad. In this program I made the simple card, rounded off the corners, and put a hole in the top right corner.

I think I am pleased with the final product. I was able to hook a key chain clip into the hole, and now it attaches nicely to the little folding phone stand I like to keep in my pocket so I can watch YouTube while my son is at hockey practice. The Folding Phone Stand can be found on Makerworld, it is designed by 3D Paint Lab. The container the card is in is a Cassette Card Wallet designed by junuuki and it can be found on Printables. I do not have a commercial license to print either, but their designs is available to print for personal use.
Printing a business card is probably not the most economical for a business card, but it is fun, and it is a card that will last longer than most. If you are like me the majority of business cards get while I am out in the community usually end up in the laundry. The material cost was $0.41. Making the cost that I could print them for a customer around $1.28 each. All I can say is my son is pretty excited about them, but I think he likes it mainly because it looks like he has a credit card.
Let me know what you think!


Leave a comment